|
|
||
|---|---|---|
| .gitea | ||
| doc/images | ||
| Stream Deck | ||
| X-KeyPad | ||
| .gitignore | ||
| copy-std.sh | ||
| copy.sh | ||
| COPYING | ||
| Installation.pdf | ||
| README.md | ||
| release.sh | ||
Buy and download the X-KeyPad plugin
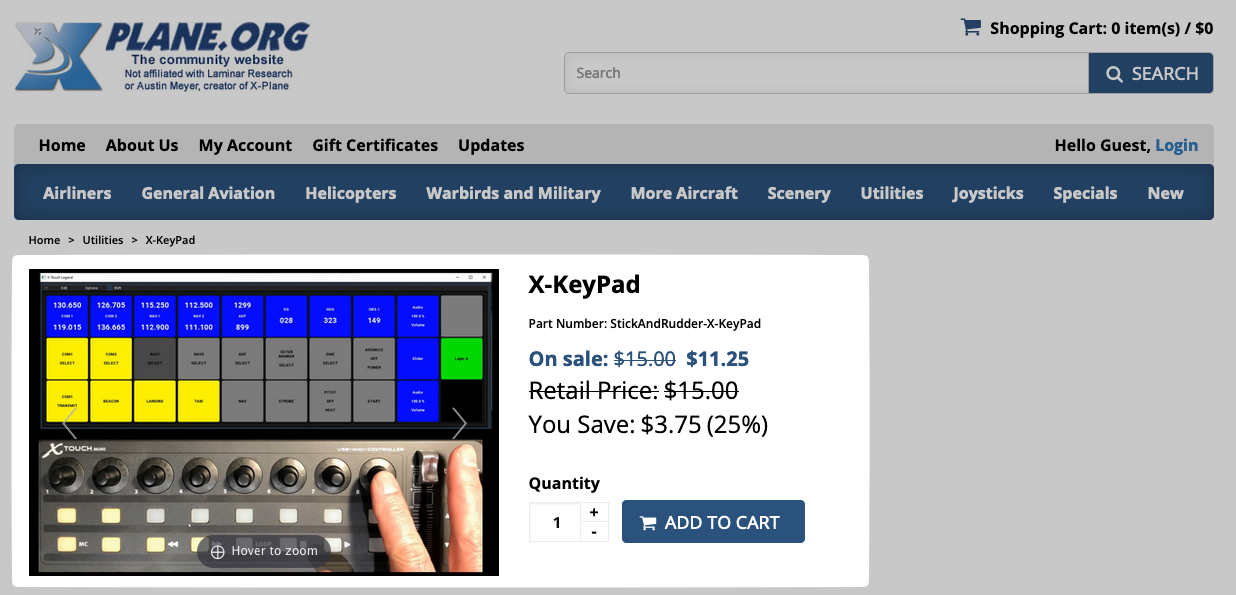
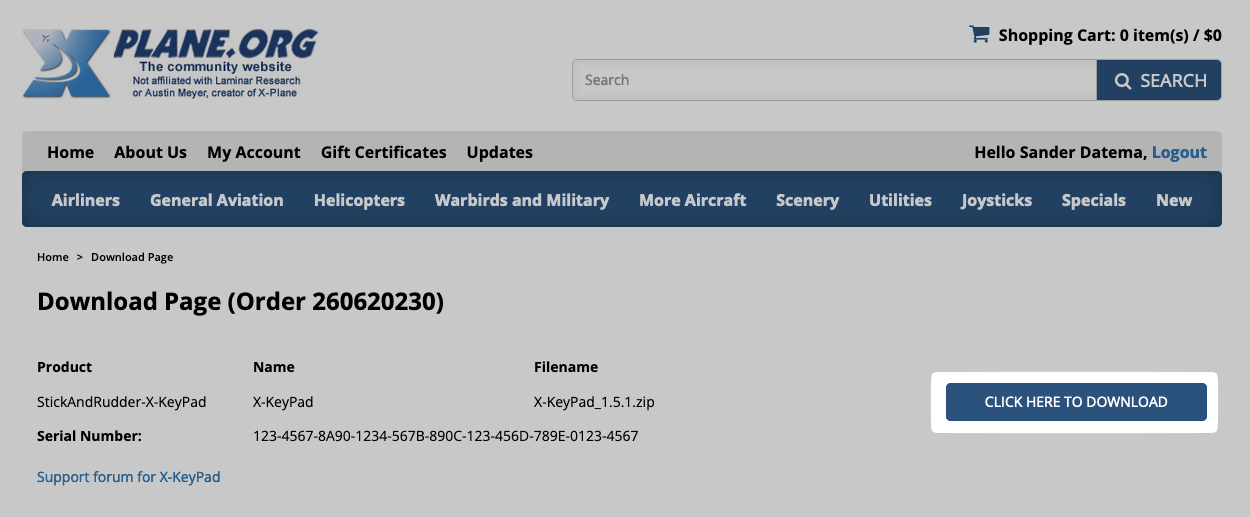
Step one is to buy and download X-KeyPad from, for example, the X-Plane.org store.
And if you were wondering: no, the serial number isn't real. ;)
Download the A319 profile
Next, download the A310 Stream Deck profile from the files section of the X-Plane.org forum.

Unzip files and install plugin in the X-Plane folder
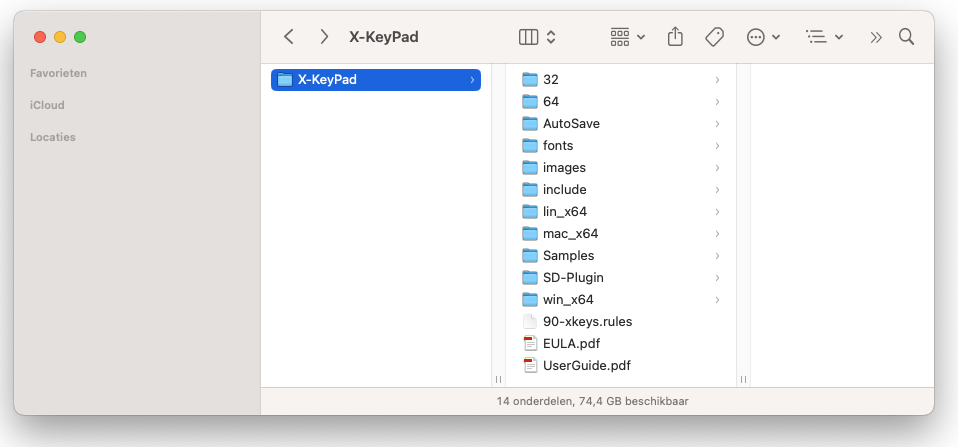
Once you have downloaded X-KeyPad from the store, you'll have a ZIP file. Extract it.
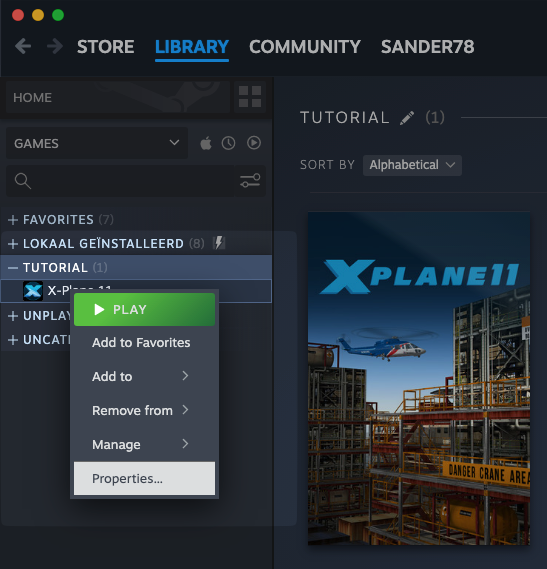
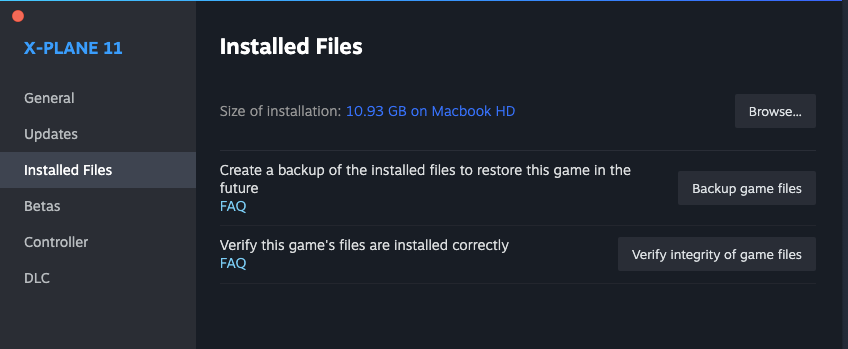
Go to your X-Plane location. If you have the Steam version, right click on X-Plane, select Properties and then go to Installed Files. Then click Browse.... That's your X-Plane folder when using Steam.
If you downloaded X-Plane directly from X-Plane.com, I assume you know where you installed it.
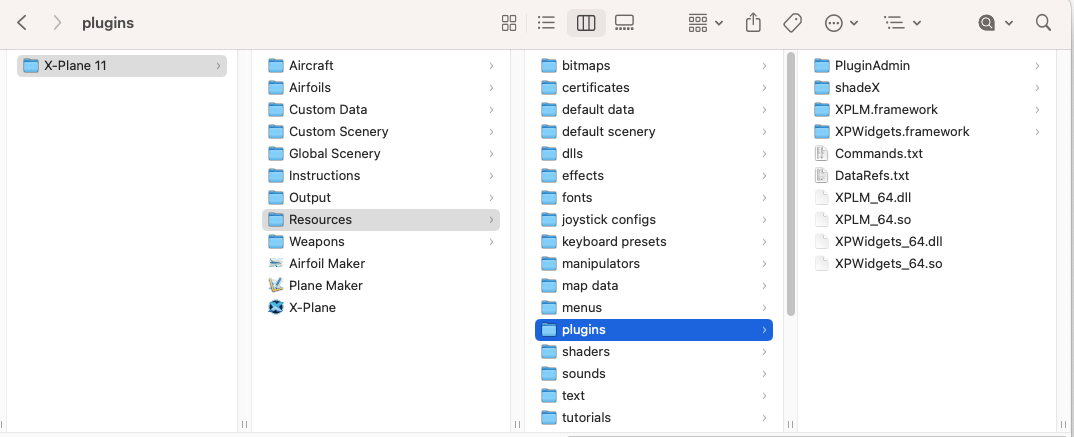
In the X-Plane folder go to Resources and then plugins. Put the X-KeyPad folder you extracted in the previous step here.
Quarantine on Mac
The next step can be ignored on Windows, but is important on the Mac. By default downloaded software will be quarantined by your Mac. To fix this, open the Terminal app (in your Applications folder under Utilities) and type this command:
sudo xattr -r -d com.apple.quarantine <your X-Plane folder>
Replace <your X-Plane folder> with, well, your X-Plane folder.
Install Stream Deck plugin
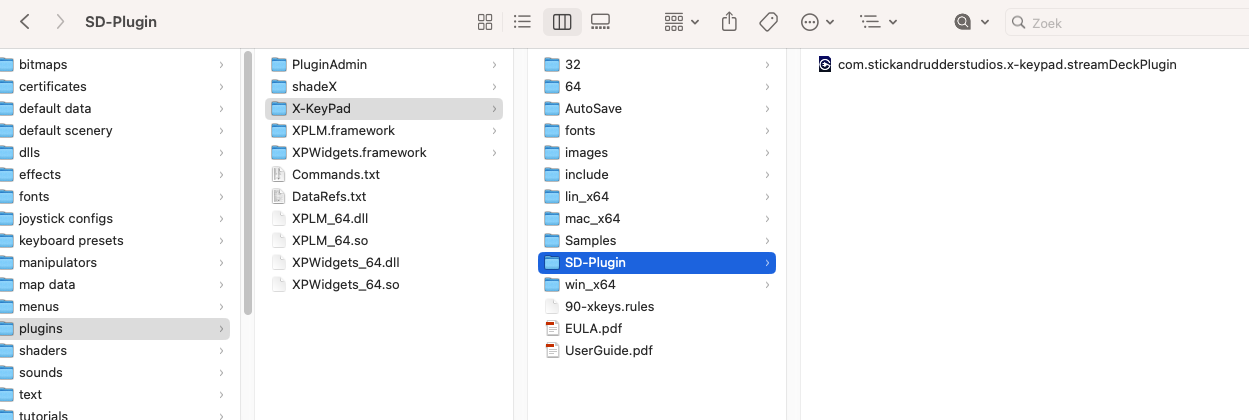
In the X-KeyPad plugin folder there's an SD-plugin folder. In it is the Stream Deck plugin that allows X-KeyPad to talk with your Stream Decks. Just double click it and it will be installed.
Start X-Plane and the ToLiss A319
Now start X-Plane, doesn't matter if it's version 11 or 12. In this tutorial I'll use X-Plane 12. Load the ToLiss A319 on any airport you like.
In the aircraft folder, X-KeyPad will create a configuration file for the Stream Deck. It'll be empty by default.
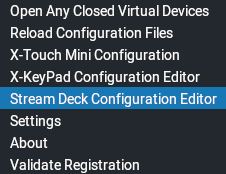
Now go to the menu and then X-KeyPad > Stream Deck Configuration Editor
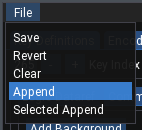
The the window that appears is where X-KeyPad profiles are made. But you can also import them. There are two ways: Append: import a file, completely overwriting any existing keys Selected append: only import selected items from a file
Assuming this is your first install, we'll choose Append.
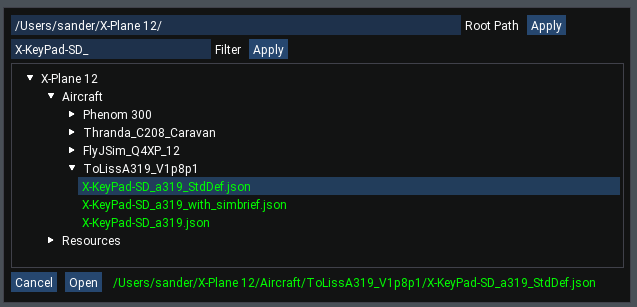
By default X-KeyPad will scan your X-Plane folder for profiles, so you'll need to make sure the json files from the file you downloaded are somewhere in your X-Plane folder. It doesn't matter where, X-KeyPad will find them. You can type in another path (in the Root path field), by the way.
Now select one of those files in the File Selector. Either X-KeyPad-SD_a319_StdDef.json or X-KeyPad-SD_a319.json, it doesn't matter, they're the same.
In this example the file was in the Aircraft folder already.
Install the Stream Deck profile
There are two Stream Deck profiles in my ZIP file. One for the Stream Deck XL and one for the Stream Deck Plus. Double click on the ones that you have.
If you have a smaller Stream Deck, you'll need to try out what works for you. You can always add X-KeyPad keys by hand and then get the function names from the X-KeyPad configuration screen.
Have fun
You're done now. You don't have to edit anything in any of the profiles, unless you want to.
sander@passengerflying.com August 1, 2023
